Followers

Showing posts with label Divas By Design. Show all posts

Monday, 18 March 2013

Sexy Easter Card

Hi Everyone,

Me again, seem to be in the right creative frame of mind lately.

One of the challenges i wanted to make a card for was to use the following sketch (well it was a choice of 2 and my St Patrick's day card was that one).


I also decided to make this an Easter themed card to match another challenge and i have recently purchased the perfect cheeky image and i have been dying to use her.

Here's my card


For this card i used..
Image by Sassy Studio Designs
papers free in a magazine (i think they are Pink Petticoat)
Flowers are by Kaiser Craft
Martha Stewart Corner Punch
Gems by Kaiser Craft
Sakura Clear Star Gelly Roll
Copics R81, G05, E000, E00, E57
Spellbinders fancy circle die

I would like to enter this card in the following challenges


Thanks for visiting
Jox


Sunday, 10 March 2013

Oriental Criss Cross Card

Hi Everyone,

Work has been really busy and i have sadly been giving myself headaches due to eye strain and figured it was best to take a break for a week or two from my crafting, wasn't easy i can tell you but work does pay my craft habit so could hardly give that a break ha ha.

Well my mum bless her has resolved my cutting issues and brought me an A3 paper cutter, I think she was surprised at how excited i was over this but it will make my life easier but have to try and figure out how to store it as it is fairly large. It is really good, i had to try it out with some scrap paper of course just to get a feel for it :) but its really good and you can purchase different shaped rotary blades etc so should keep me amused for a while :)

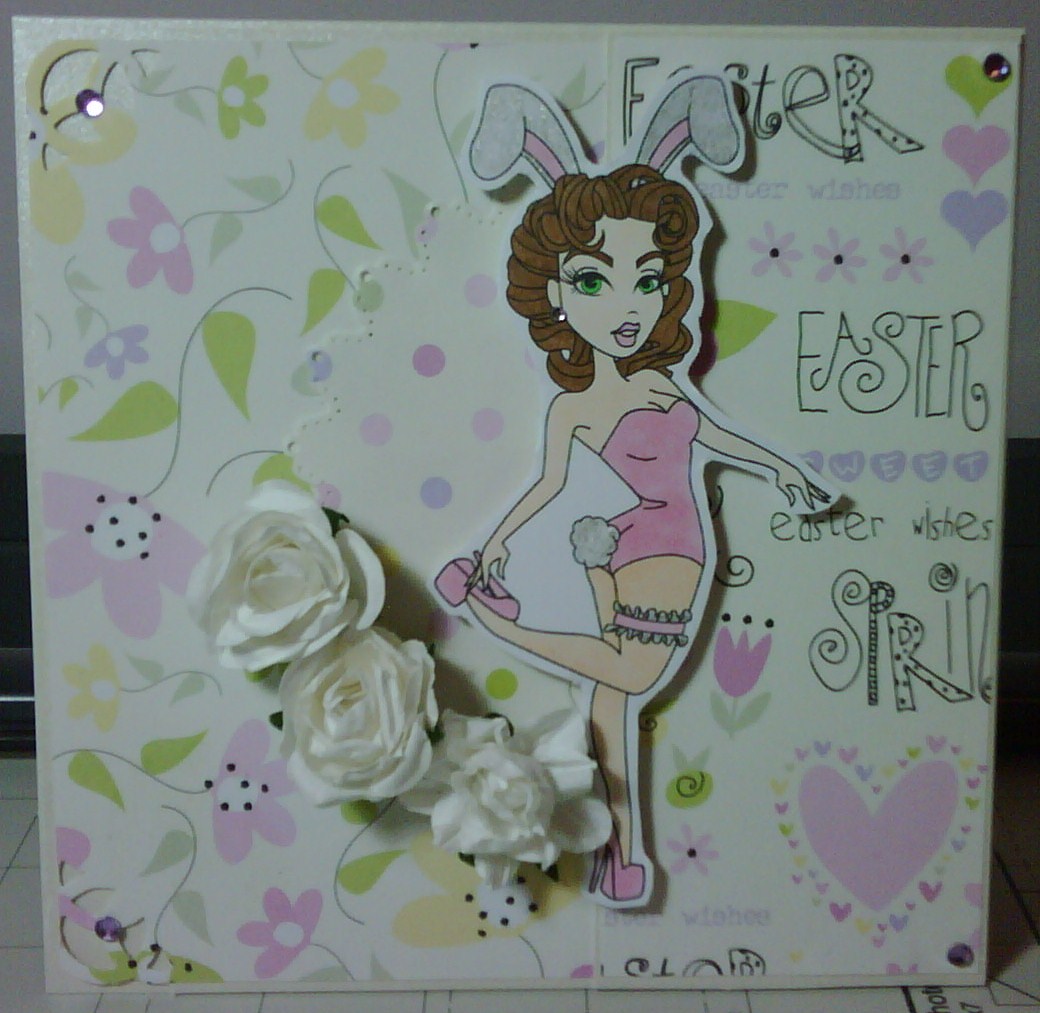
Well i wasn't really sure what the theme of my card was going to be, i decided on another Criss Cross because i really quite like them at the moment and of course i would get to play with my new toy. So i just rifled through my paper stash and i came across some Japanese papers i brought a while ago at one of the craft shows and i liked it so that started me off. I also brought some oriental girl stamps pretty much when i took up card making but sadly have barely used them so i picked out one of those.

I cut my card base and then i decided to border punch the one side of the triangles to give it a prettier feel and then i adhered my precut patterned paper triangles. I then stamped my image on the Copic card and coloured her in using my Copics and my gold metallic Gelly roll. I cut her into a circle using my spellbinders die. I adhered white ribbon across the front and then adhered my image. I made a bow using the same ribbon and adhered to the card and attached a black and white button. I then adhered some small white ribbon roses.

I wanted the insert to bit a little more fancy so cut out two labels from white card and pearlescent gold paper and adhered them together i then cut out some butterflies using a punch from the patterned paper and adhered them to the white card.

Here's my card


My fancy insert :)


For this card i used...

Japanese Paper
Oriental Stamped Girl
Momento Tuxedo Black Ink
Black card stock, white card stock and pearlescent gold paper from stash
Martha Stewart border punch and butterfly punch
Spellbinders and X-Cut dies
Gold Metallic Gelly Roll
White Ribbon
Black and White button
Copics 0, C1, C5, C7, C9, B37, E000
White ribbon roses


I would like to enter my card into the following challenges


Thanks for visiting and have a great start to the new week

Jox

Tuesday, 26 February 2013

Hannah Lynn Centre Stepper Card

Hi All,

For my next experimentation i decided to give a centre step card a go. I viewed some templates online and then gave it a go generating my own, as you can imagine there were some failures LOL before i got to the dimensions i wanted.

Because i really love this image i wanted to keep the rest of the card fairly simple so she is the main focus and isn't she gorgeous. I may add a sentiment later, i am not sure at this stage but that's the joy of this image i think you could use it for any number.


For this card i used...
Janessa, Digital image by Hannah Lynn
Copics G05, R46, 0, E000, E00, B16, Y18, C1, C5, C7, C9
Gelly Rolls Silver star and Clear Star
Gems and card stock all from stash.

I would like to enter my card in the following challenges


Have fun Crafting
Jox

Saturday, 23 February 2013

Pink & Brown Tri-Fold Card

Hi everyone,

I am going through a phase of trying out different folds and shapes of cards at the moment and really enjoying it. I recently purchased a Martha Stewart scoreboard so this may have prompted my experimenting :)

This time i have tried out a Tri-fold card and i really like the way it turned out. I made mine slightly smaller than most out there (each panel is 12cm x 12cm) mainly because i do not have a paper cutter than can handle A3 cardstock so that is my next purchase on the agenda. I do a lot of my cutting with a metal ruler and craft knife but i am not the best at straight lines :)

I went with a pink and brown theme as i wanted to use up some of the items i already had in my stash, and the Hannah Lynn image was one i printed and cut out a while back but never got around to using.


For this card i used...
Hannah Lynn digital Image
Butterfly and Sentiment stamps by Flourishes
Sentiment on middle panel i generated using the computer and printed out
Pink, Clear and Mini clear gems from Stash
Ribbon from stash
Martha Stewart Border and Corner punches
Digital papers all by Pink Petticoat
White and Black card stock from stash
Copics E000, E00, E33, E35, E37, R81, G05

I would like to enter my card in the following challenges


Thanks for joining me, i am off to do some more experimenting
Jox

Tuesday, 19 February 2013

My first ever Criss Cross Card

Hi everyone,

Hope your week isn't going too badly so far, almost half way through now.

Well this card is a rarity for me for a few reasons, firstly it is my first attempt at a Criss Cross card, there was not a single Copic used...it just feels wrong LOL and not a digital element, stamp or paper in sight and i have used traditional Valentines colours and image. I am pretty happy with the way it turned out and i hope you like it.

I made up my card using the papers from my collection and decided that i would make the band removable, plus this way you can reposition the image so if you want to make the message on the removable panel secret you can do or you can move the image down slightly so you can see the top. I took pictures of all three pieces so you could see in a little more detail.

The completed card assembled

Just the band (don't you love my mini bucket in the background)

The insert with the gem detail i added.

For this card i used...

Black card from my stash
Papers & Image Country Companions by Do Crafts
Spellbinders Circle and Scalloped Circle Dies
White and Red ribbon from Stash
Martha Stewart Border Punch
Adhesive red and Heart shaped gems
White card from stash

I would like to enter my card in the following challenges


Thanks for visiting
Jox


Monday, 18 February 2013

Alternative Valentines Card - Kenny K

Hi everyone,

well you know how i am at being alternative when it comes to my cards and i do like making bright and funky ones. With this in mind a couple of the challenges which i wanted to enter all relate to love etc because of Valentines day, well i figured i would step completely away from tradition and really hope you like my final card.

I used a Kenny K image and coloured her with my Copics. I have to admit i initially coloured her when the power was off a few weekends ago and wasn't really sure what to use her for. I cut her out and left her on my craft table until inspiration hit me LOL

I loved the bright colours and thought they would make a great alternative to the normal reds and pinks, so i cut three panels in the same colour scheme used and embossed them so they had music notes on them. I love the look it gave. I wanted a little bit more texture so i used some black embossed paper i had to give it a bit more edge. I then adhered to my card, after much playing around to get the layout right. I tend to cut out all my different panels together and play around till i am happy as i have a tendency to change my mind.

I added black ribbon and bow (well ribbon i had, coloured with my Copic) and adhered these in the corner of the card and added heart gems in each of the corner. When it came to the sentiment i had an idea of what i wanted to say so typed this out using Word and the many free fonts i have downloaded over time and played around with it until i was happy and then printed this straight onto yellow card stock, cut it out with my small circle Spellbinders Die and adhered to the card. I used dimensionals to add lift to my image as i wanted her to be the focal point and i am really happy with the results.

Hope you like it? here it is...


For this card is used...

Kenny K Digital Image
Card stock was all from my stash
White Ribbon coloured with Copic
Couture creations embossing folder
Heart Gems from my stash
Copics (sorry didn't note these down at the time)
computer and free fonts for sentiment
Spellbinders Circle Die

i would like to enter my card in the following challenges...


Thanks for visiting and happy Crafting 

Jox

Sunday, 10 February 2013

Simple but effective Valentine

Hi everyone,

me again back with another card, this one came about as my mum gave me an embossing folder as she had managed to buy the same one twice...oops. It was certainly my gain and i really like it. As the embossing is really gorgeous on its own i did not want to do too much to the card in case it detracted from it.

Here is what i came up with...


I used the following to make this card
Couture Creations Happiness embossing folder
Flourishes sentiment stamp
Heart Punch
Martha Stewart Butterfly Punch
Mini Gems from stash
Clear star Gelly roll


I would very much like to enter my card in the following challenges


Thanks for stopping by and have a great week
Jox

Saturday, 9 February 2013

Nothing says i love you like a heart filled with bling!

Hi everyone,

For this card i wanted to combine a number of challenges but also step outside of my comfort zone a little more. I have to say it turned out better than i hoped as i was beginning to think i have may have over done it somewhat. One of the challenges is your favourite colour combo and i really really love white and blue, its just so fresh. I know its not your typical valentines colours but then i do like to be different.

Let me know what you think...


For this card i used..
Nitwits "Promise" collection for all papers
Heart Doily from stash
CC Designs digital image
Red, Blue, Purple gems from Kaiser craft
Pearls from stash
Clear star Gelly Roll
Martha Stewart Butterfly Punch
Heart die (sorry cannot remember brand)
Card Base Kmart
Copics B21, B32, BV02, E50, R81, C0, C5, C7, C9, 0
White Gel pen
Sentiment by Flourishes

I would very much like to enter this in the following challenges


Thank you so much for visiting and any comments left
Jox

Tuesday, 29 January 2013

Little Red Riding Hood

This was the second "fairytale" themed card i made and i went with a slightly more vintage look in terms of colours and i was quite happy with the result and please feel free to comment or offer suggestions.


For this is used...

Little Red Riding Hood digital stamp from The Paper Shelter
Patterned papers by Fabscraps
Flower & Ribbon from stash
Martha Stewart butterfly punch
Gelly Roll in Black Sparkle
Copics C7, C9, R81, R59, B97, E50, E37, E35, E15
White Gel Pen
Xcut frame Die
Circle & Scalloped Circle spellbinders dies
Gems by kaisercraft

I would like to enter this in the following challenges...


Thanks for your time

Jox

My apologies in advance

There will be several posts in a row today. We had bad weather in Brisbane over the weekend which left me without power for 24hrs, well what's a girl to do except made cards, so i made a few of them to stop me going bananas.

I made two cards for the challenges below and couldn't decide which one to go with and ended up settling on the one below, hope you like it?


For this card i used...
Snow White Image by The Paper Shelter
Copics Y18, E71, E27, E25, R29, YG09, YG05, E17, E50, B16, B29, C9, G14, C3, G28
Gelly rolls in Golden star and Red Star
Red, Yellow and Blue card by Kaisercraft
Martha Stewart border punch
White Ribbon from Stash
Red, White and Black flowers by Kaisercraft
Marianne Leaf Die
Red & Blue gems from stash
Double sided tape, double sided foam pads
Glossy accents


I would like to enter this card in the following challenges


Thanks for taking the time
Jox

Sunday, 20 January 2013

Dilema

Hi everyone from very muggy and sticky Queensland, think i would trade with one of you in the UK right now...ahhh snow!

Well i have had quite a productive few days card wise for my challenges but now have more cards than i can enter...oops. So i have had to make a decision which quite honestly is not one of my strong points. The first card i will show you today i chose because it is a little bit outside of my normal style and i really like the way it turned out, girly but not pink and frilly.

I decided i wanted to limit the amount of colour on my card so there is only a little but i think it draws your attention to the gorgeous image more.


I started this one of backwards to how i create my other cards, i coloured my image first and just picked the colours of Copics i liked and used them. I then decided to make the rest of the card the same colour. I took my standard white pearlescent card black. I cut a square 12cm x 12cm from the same card stock and embossed it. I then adhered this onto another piece of the same card stock and trimmed a border. I wanted to put some ribbon on and decided to go with the red i had in my stash and i adhered this to the smaller trimmed cards. I attached this to the base card using foam tape to give it a lift. I then cut my image out using Spellbinders dies, i cut one slightly larger using the original card stock and mounted both to the card. I made a red bow which i then adhered to the card using glossy accents. I also added some small red gems. Its hard to tell from the image but i did some highlights on the flowers and bees using my clear star Gelly roll to add a little sparkle and put some Glossy Accents on the bees to make them nice and glossy.

I used...
Pearlescent White Card stock from Kmart
Cuttlebug embossing folder
Spellbinders Dies
Digital Image from Cuddly Buddy
Ribbon - Stash
Gems - Stash
Copics V05, RV04, V17, YG09, YG17, G05, C2, Y13, E37, E41, R81, B16, YG05 AND R37
Glossy Accents
Clear Star Gelly Roll

I would like to enter my card in the following challenges;


Thanks for taking the time to view 

Jox

Friday, 18 January 2013

Forever Friends Girly Card

I trust everyone had a good week, mine was pretty busy at work and definitely happy its not the week end!

I am entering the card in several challenges and would be interested to have your feedback. Girly is not really my strong point, think i have a tendency to be too much of a tomboy some ha ha. But i really enjoyed making this one and it is certainly a lot busier than my normal cards but it has all come together pretty well i think?


Well i worked around the topper this time, whereas i normally work the other way around. The image and papers are all from the same paper pack. I used a pearlescent white card blank to start. I then cut my striped paper to the size i wanted it and mounted on to slightly darker brown paper. I then cut a smaller square of flowered paper and mounted this on the same brown paper, but i made the border on this one a lot narrower. I took some more pearlescent card stock and trimmed it down to a strip to go over the from. I then punched the design along the bottom. I Cut a strip of dotty paper and adhered this to the card strip. I am shocking at trying to stick paper down straight so much confess i had to trim along the top a little to make sure it aligned. I then wrapped a white ribbon and stuck this to the back. I then adhered the strip to the card after much playing around with positioning. I cut out the image, mounted on to white card stock and them mounted again on the same brown paper. I adhered this to the card using double sided foam tape so give it a bit more lift and so it didn't look flat against the embellishments i wanted to ad. I then cut out a flourish using a die and my big shot, this was cut from the same white card stock. I really wanted to use my Marianne rose dies because i love them and decided i would make three roses out of the offcuts of the different papers and i actually really like the contrast it gives. I punched a butterfly using my trusty Martha Stewart butterfly punch and adhered to the card and then added my beloved gems. I added some stickles to the inside of the roses to give them a little more pizazz. Hope you like my efforts

I used...
Forever Friends image and papers by Do Crafts
White pearlescent card stock from Kmart
Flourishes Die
Martha Stewart Butterfly punch
Martha Stewart border punch
Gems from Kaiser craft
Marianne Rose Die
Glossy Accents
Stickles

I would like to enter my card in the following challenges


Have a great weekend and as always thanks for joining me

Jox